It is now summertime and this is the best time of year to fix your potholes. While repairing them, you want to use a product that will hold up and really last. From my experience I have found that Rapid Set Asphalt repair really does last about 2-3 times longer than your typical asphalt product. This product is a fast setting multi-purpose cement based asphalt mix. This a great product to use because it is fast and the final set is an hour and a half for structural strength.
Key Benefits about Rapid Set Asphalt Repair
- Superior Adhesion to existing asphalt surfaces.
- Designed to match the color of typical existing aged asphalt.
- Ready to use for full depth repairs up to 24″.
- Higher durability than conventional asphalt.
- Easy to apply: Just add water, mix and pour.
- Stays flat: Little to no subsidence.

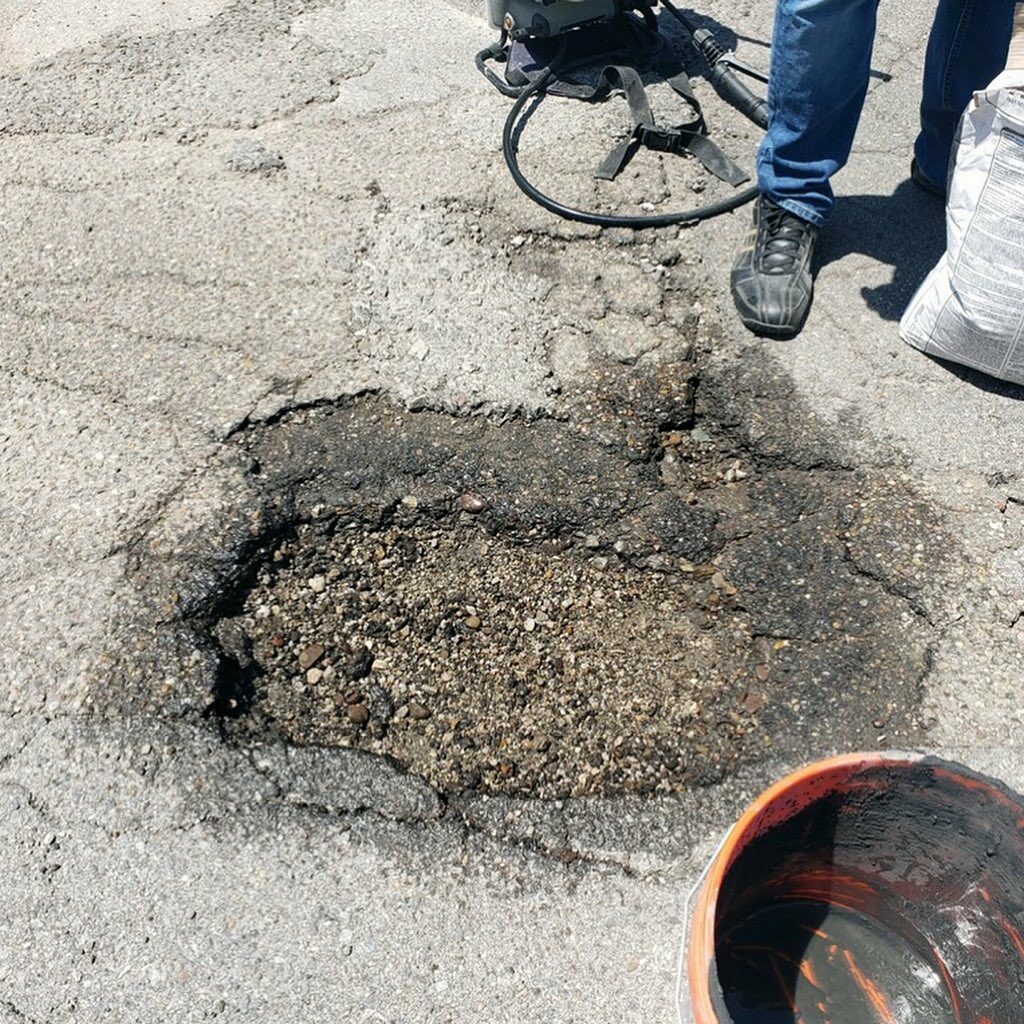
How to Prep your Asphalt for repair
Before you get started make sure you have a wire brush, broom, leaf blower or pressure washer. The goal is to remove all of the loose debris, dirt, and dampen the surface for product placement. Before you place the product down make sure all standing water is removed from this area.
Other tools you will need are a mixing paddle, power mixer (drill and paddle), and a trowel.
Mixing the Asphalt Repair
There are many ways to mix this product. The easiest way to mix this product is in a 5 gallon bucket with a drill with a mixing paddle. Each bag of Asphalt Repair uses between 2.75 – 3.25 quarts of water and it’s best to use cold water. On a cold day you can use warm water to speed up the hardening process.
Lets get started and start mixing…
- Place 2.75 quarts of water in your bucket.
- Open your repair mix and pour in half of your material. Mix for a few seconds to blend with the water.
- Add the remaining material in to your bucket and mix it.
- Make sure your surface is damp without any standing water. Place your material in the hole you are repairing.
- Consolidate and trowel your material in place and finish with your trowel or loop roller for texture. You can use a broom for a broom finish. All you do is drag your broom across the surface to give it a broom texture.
- Curing. This product does not require water curing unless it is above 80 degrees. To water cure, you mist the surface of your repair material and keep it damp for an hour. This ensures that the surface does not dry out and the material will hydrate properly, reducing chances of shrinkage cracking.


If you follow these steps you should be good to go and have a long lasting repair.
Until next time,
Galaxy Building Supply